Ever wondered why some digital projects seem chaotic while others are smooth? The answer often lies in how you organize your work. Whether it’s a complex ai porn pmv timeline or a simple video edit, success comes from a clear plan.
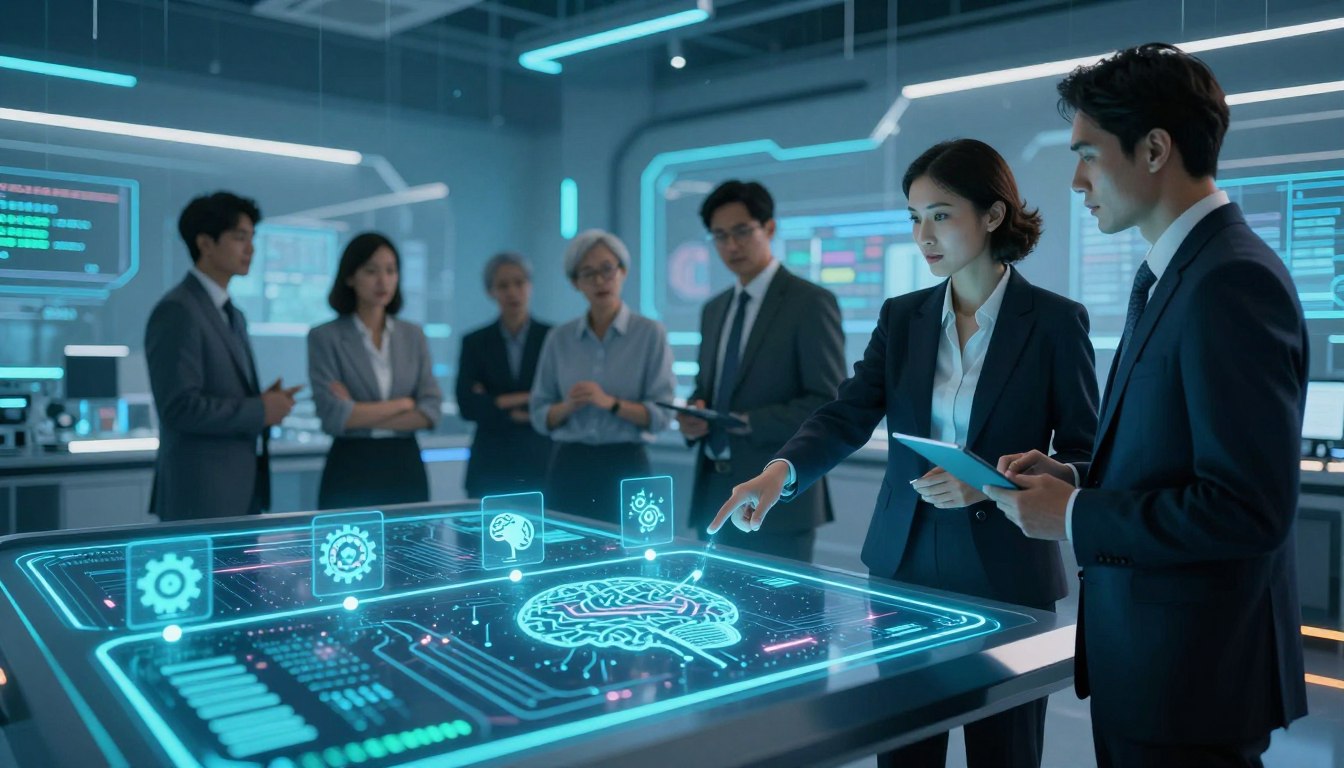
Human oversight is key in your production. Automation does a lot, but you need to guide it. By dividing your project into sections and chapters, each part has its role.
Starting with a solid foundation helps mix tech with art. This way, a bunch of clips becomes a polished piece. Let’s dive into how to control your timeline and boost your content.
Key Takeaways
- Structure is essential for maintaining a professional narrative flow.
- Human oversight is required to guide automated creative tools.
- Breaking projects into chapters improves overall audience engagement.
- A well-organized workflow prevents technical clutter during production.
- Strategic planning ensures your final output remains consistent and impactful.
Establishing Your Workflow for an AI Porn PMV Timeline
Creating a ai porn pmv timeline is more than just being creative. It needs a strict plan to stay organized. Artificial intelligence helps a lot, but you must have a clear strategy. A clean workspace is key to avoid getting lost in your project and keep your ideas flowing.
Selecting Your AI-Generated Assets
The quality of your video depends on the materials you pick. Before you start making your ai porn pmv timeline, sort through your assets. Get rid of low-quality or mismatched clips. Choose high-quality images and videos that fit your story.
When picking your content, think about these:
- Visual Consistency: Make sure the lighting and style of characters are the same in all clips.
- Resolution Standards: Use 4K or high-definition for the best quality.
- Narrative Relevance: Only use clips that help tell your story.
Organizing Media Folders for Efficient Editing
A messy file system can slow you down. Create a clear folder structure before you start editing. This way, you can focus on the creative parts without wasting time searching for files.
Use a system that separates raw footage from edited files. With a well-organized ai porn pmv timeline, you can find what you need quickly, even when you’re under pressure.
Setting Up Your Project Workspace
Your workspace is the base of your editing process. First, set your project’s frame rate and resolution to match your main files. This avoids rendering problems and makes your ai porn pmv timeline play smoothly.
Next, arrange your editing software so your favorite tools are easy to find. A tidy workspace helps you stay focused. It lets your technical skills support your creativity, not get in the way.
Structuring Your Project into Logical Sections
Having a clear plan for your editing makes it easier to keep viewers interested. Section planning helps you see the whole pmv timeline before starting. This way, every part of your project has a purpose in the story.
Defining the Narrative Arc of Your PMV
Every video needs a clear start, middle, and end. Use section planning to outline your story’s journey. This avoids content that feels disjointed and keeps viewers engaged.
Think of your project as a journey. By knowing the story arc, you can adjust the pace to keep viewers interested from start to finish.
Mapping Out Visual Sequences
After setting your story, organize your visuals to keep the flow. A detailed pmv timeline helps you group assets by theme. This makes it easier to change clips if needed.
Use this table to organize your sequences for better flow:
| Sequence Type | Primary Goal | Pacing Intensity |
|---|---|---|
| Introduction | Hook the viewer | Moderate |
| Build-up | Increase tension | Gradual |
| Climax | Maximum impact | High |
| Resolution | Provide closure | Slow |
Balancing AI-Generated Clips with Music Tempo
The music is the heart of your project. Make sure your pmv timeline matches the music’s energy. If it doesn’t, the final product will feel off.
Match your most intense visuals with the music’s high points. By synchronizing your cuts with the beat, you create a smooth experience. The goal is to blend visuals and audio into a single, cohesive unit.
Mastering the Art of Beat Drops
When you match your visual cuts with the music’s peak, you create a smooth experience for your viewers. Just like AI picks the best dates for events, you can find the perfect moments for visuals in your pmv timeline. This skill is key to making a dynamic rhythm that keeps viewers engaged.
Identifying Key Audio Peaks
To get professional results, learn to read your audio like a map. Look for the highest points in your editing software’s waveform display. These are the loudest and most energetic parts of the song.
Focusing on these peaks helps you find where the energy changes. Mark these spots early to make sure your edits match the music’s structure, not just guesses.

Synchronizing Visual Transitions with Audio Cues
After finding your peaks, align your clips with them. Cutting too early or late can ruin the viewer’s immersion.
Go for frame-perfect precision. When your visual transition hits the beat exactly, viewers feel a sense of satisfaction. This shows the quality of your work.
Creating Impactful Visual Shifts at Drop Points
The most important moments in any high-energy video are the beat drops. These are when the music is at its peak, and your visuals should match that energy.
At these moments, use quick cuts or change the camera angle to keep the energy up. By treating your pmv timeline like a musical instrument, you create a performance that resonates with every beat drop.
Developing Chapters for Better Pacing
Pacing is key to keeping your audience hooked. When you plan your section planning, you’re creating a map for their journey. Breaking your work into chapters stops it from feeling like a never-ending cycle.
Breaking Down Long-Form Content
Long projects can lose steam without a clear plan. Segment your timeline to focus on different themes or styles. This approach is like AI targeting specific audience segments for better communication.
It helps you control the flow of your project. Focus on creating distinct blocks for each chapter’s purpose. This makes editing simpler.
Using Title Cards and Transitions
Title cards are crucial for guiding your audience. They mark changes in tone or theme, giving a break between intense parts. Using them well is vital for section planning and keeping viewers on track.
Choose transitions that fit the mood of the next chapter. Whether it’s a smooth fade or a sharp cut, it should support your story. Consistency in your visual language helps signal new chapters.
Maintaining Continuity Between Chapters
Even with chapters, your project should feel like one story. Avoid making each part seem random. Use visual motifs or consistent color to tie chapters together.
Good section planning makes transitions smooth. Keeping a steady narrative thread keeps your audience engaged. Cohesion is the key to a polished final product.
Refining the AI Porn PMV Timeline for Flow
Improving your work means paying attention to the small details. After setting up your basic structure, the real magic happens in the fine-tuning phase. This turns a rough cut into a polished production that keeps viewers hooked from start to end.
“Quality is never an accident; it is always the result of high intention, sincere effort, intelligent direction and skillful execution.”
Adjusting Clip Duration for Maximum Engagement
Just like AI spots high-risk members by analyzing their engagement, you need to find and trim dull parts in your project. If a clip stays the same for too long, viewers might lose interest. Shortening your clips to match the music’s energy is key to keeping the flow.
Keep checking your ai porn pmv timeline for slow parts. Cutting out unnecessary frames makes your project tighter and more rhythmic. This ensures every transition is meaningful and impactful.
Implementing Smooth Transitions Between AI Assets
Smooth transitions are what hold your project together. Avoid sudden cuts that disrupt the viewer’s experience. Instead, use smooth cross-fades or motion-based wipes to connect different scenes.
Try using blending modes to make transitions feel natural. When the visuals flow smoothly, the viewer stays engaged with the story. This level of detail is what makes professional content stand out.
Managing Visual Consistency Across the Timeline
Keeping visuals consistent is crucial for a cohesive final product. If your AI assets look very different, your ai porn pmv timeline will feel off. Use color grading tools to make all clips look like they belong together.
Make sure character models and background styles stay the same throughout. Consistency builds trust with your audience, showing a high level of production quality. When everything matches, your project looks professional and encourages viewers to watch it again.
Advanced Techniques for Beat-Synced Editing
To improve your editing, learn how audio and visuals work together on your pmv timeline. Going beyond simple cuts makes your work look professional and polished. Just like AI makes complex data easy to understand, certain tools can help manage your project’s intensity.

Utilizing Markers for Precise Alignment
Markers are your guide to success. Place them on your audio track to mark beat drops. This makes it easy to place your clips perfectly.
Consistency is crucial with fast-paced music. Use markers to place transitions accurately. This makes every visual change feel meaningful.
Applying Effects to Match Audio Intensity
Enhance your edit with effects that match the music’s volume and frequency. Add a flash or color change when the music peaks. This makes your beat drops more engaging.
Try adjusting opacity or scale to match the music’s energy. This creates a smooth connection between sound and sight. It’s what makes professional work stand out.
Layering Visuals for Dynamic Sequences
Layering adds complexity to your pmv timeline. Place a main clip on the bottom and add textures or graphics on top. This keeps the story interesting.
Layering lets you mix different styles to keep the viewer interested. Here’s how different methods affect your work:
| Technique | Primary Benefit | Complexity Level |
|---|---|---|
| Marker Alignment | Perfect Sync | Low |
| Audio-Reactive Effects | High Energy | Medium |
| Multi-Layer Stacking | Visual Depth | High |
Troubleshooting Common Timeline Issues
Even experienced editors face technical challenges with AI projects. Automated editing can introduce errors if not watched closely. It’s crucial to keep your final product professional.
Resolving Sync Mismatches
Sync issues happen when media frame rates don’t match project settings. If visuals and audio seem off, check your settings. Precise alignment is key, especially for beat drops.
To fix drift, use the ripple edit tool. Adjusting audio settings can also help. Always check markers to keep beat drops in sync.
Fixing Glitches in AI-Generated Footage
AI content sometimes has visual issues or flickering. Frame interpolation or a blur can fix these. Consistency is key for a high-quality look.
If a clip still has problems, try re-generating it. Sometimes, AI needs a new prompt. If fixes don’t work, replace the file.
Optimizing Export Settings for High-Quality Playback
Export settings affect how your video looks on different devices. Use codecs like H.264 or HEVC for crisp video without huge files. High-quality playback also depends on the right bitrate.
Test a short segment before full export. This ensures beat drops and transitions are smooth. These steps ensure your project makes the right impact.
Best Practices for Long-Term Project Management
Managing long-term projects can make all the difference. By focusing on section planning early, you set up a clear path for updates. This approach keeps your work organized and easy to access for years.
Version Control for Your Editing Projects
Good version control stops the stress of losing your work. Use a clear naming system, like adding dates or version numbers. Never rely on a single “final” file to avoid confusion when you need to go back.
Use a simple spreadsheet to track your project’s milestones. This section planning helps you see when changes were made. Keeping a detailed history of your files is crucial for any editor.
Backing Up Your AI Assets and Project Files
Loss of data can stop your creative flow in its tracks. You need a solid backup plan, including local and cloud storage. Redundancy is your best defense against losing your work.
Regularly check your AI systems to keep them working well. Auditing your library ensures your files are good to go. Consistent backups let you focus on your creative work without worry.
Streamlining Your Workflow for Future Projects
Creating reusable templates from past work saves a lot of time. Standardizing your folders and settings makes starting new projects easier. This section planning turns your workflow into a smooth, efficient machine.
Organizing your assets now means less hassle later. Streamlining your process lets you focus on improving your art. A well-kept library is key to your long-term creative success.
Conclusion
Creating a professional PMV timeline is all about finding the right mix. You now have the tools to organize your projects clearly and with purpose.
By using AI to create assets and sync them with music, you offer a unique experience to your audience. Every edit you make helps build your digital brand.
AI is a powerful tool for your creativity. But, your human touch is what makes your work truly stand out.
Use these strategies to keep your editing process smooth. Consistent organization leads to better results. Start your next project with confidence and watch your creative goals come to life.
FAQ
How should you begin organizing your AI-generated assets for a pmv timeline?
Starting right is key to avoid project overload. Begin by picking the best assets from tools like Stable Diffusion or Runway. Then, organize them in Adobe Premiere Pro or DaVinci Resolve.
This setup helps you focus on creativity, not searching for files. A clean workspace makes your work smoother.
Why is section planning essential for viewer engagement?
Good section planning keeps your audience interested. It’s like YouTube Analytics, showing where viewers drop off. Planning your sequences aligns visuals with music tempo.
This approach gives your project a clear start, middle, and end. It prevents disjointed content.
How can you ensure your beat drops have the maximum visual impact?
To make beat drops pop, analyze your audio waveform. Look for key audio peaks. Time your visuals and effects to match these peaks for a high-energy rhythm.
Professionals use markers in Final Cut Pro for these shifts. It ensures visuals match the soundtrack’s energy.
What role do chapters play in managing the pacing of a PMV?
Chapters break down long content into easy-to-follow segments. They keep the flow smooth. Use title cards and transitions to signal theme or tone changes.
This approach makes your project feel like a story, not just clips.
How do you maintain visual consistency across different AI assets?
Polishing your work is crucial. Review your pmv timeline to cut dull parts and smooth transitions. Tools like Topaz Video AI can normalize quality, making all assets look professional.
How do markers simplify advanced synchronization during the editing process?
Markers guide you in aligning visuals with audio cues. In Adobe Premiere Pro, markers help apply effects based on audio intensity. This creates an immersive experience where visuals and music are perfectly in sync.
What are the best ways to resolve sync mismatches and AI glitches?
Fixing glitches and sync issues requires manual work. Nudge clips to match audio peaks. For visual errors, mask them or use interpolation tools.
Always use H.264 or HEVC codecs for sharp exports on platforms like X (formerly Twitter) or Pornhub.
Why is version control important for long-term project management?
Version control and backups protect your AI assets. Use Dropbox or an external Samsung T7 SSD for safety. Regularly check and audit your files to keep your workflow efficient.
Streamlining your library now saves time for future projects.